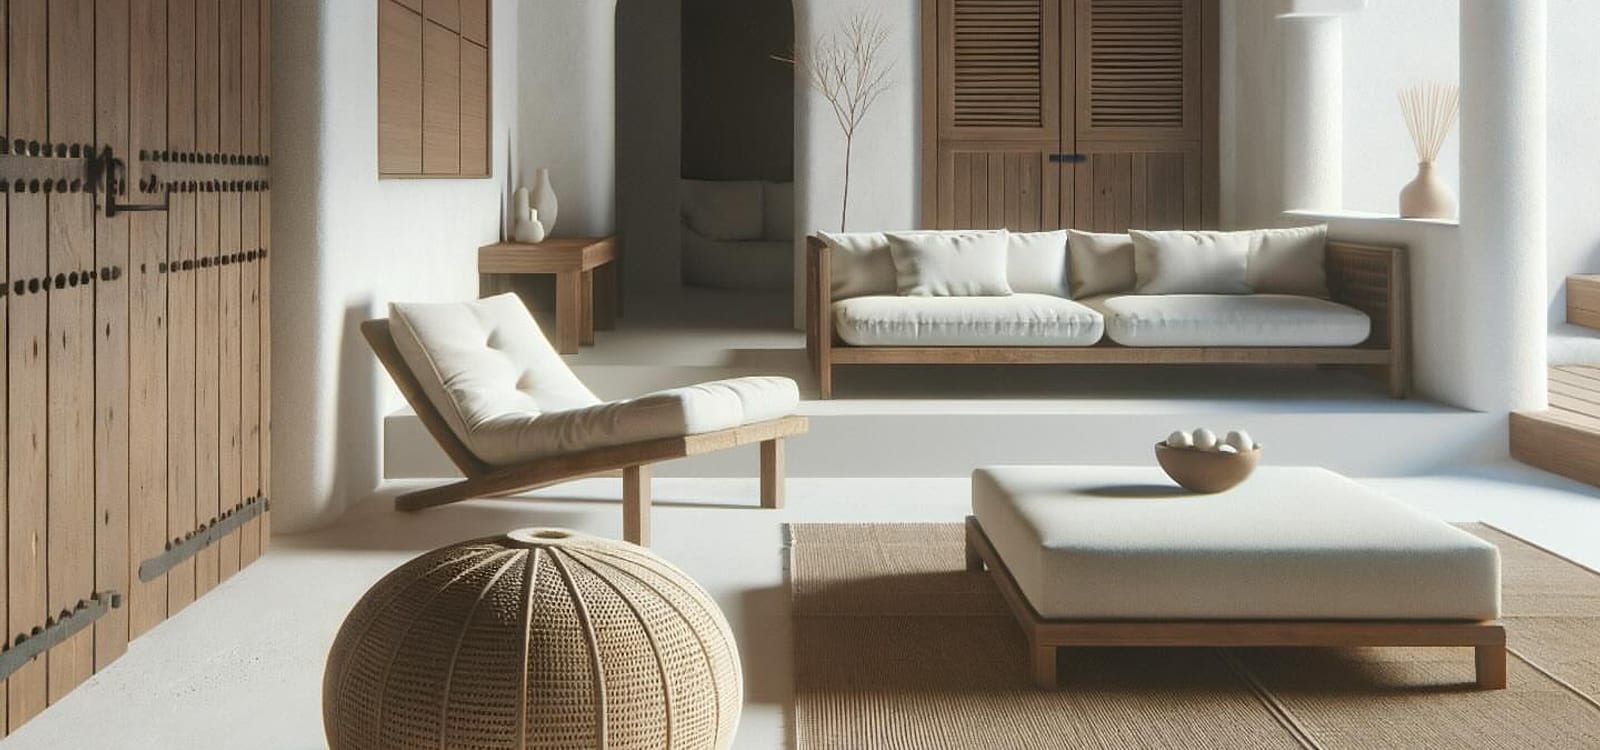
Most bathrooms feel smaller than they are because of how many materials are competing for attention in a tight space — tile on the floor, different tile on the shower walls, grout lines running in three directions, a transition strip at the shower curb breaking up the sightline. A spa-like feel isn't really about luxury finishes. It's about reducing visual noise, and that's where microcement does more work than almost any other material choice.
One Surface, No Interruptions
When the floor, the shower walls, and often the vanity surround are all the same troweled, jointless material in the same tone, your eye stops registering separate zones. There's no grout grid breaking the floor into a checkerboard, no threshold where floor tile meets shower tile in a slightly different shade. The room reads as one continuous volume instead of a collection of surfaces, which is the single biggest reason microcement bathrooms photograph — and feel — larger than their square footage suggests. This matters most in the smaller bathrooms that make up a lot of the Los Angeles housing stock, where a powder room or hallway bath doesn't have extra square feet to spare but can still feel expansive if the surfaces aren't chopping the space up.
Curbless Showers Without the Tile Transition Problem
A curbless, walk-in shower is one of the most requested features in a bathroom remodel right now, and microcement is particularly well suited to it. Because the material runs continuously from the dry floor into the shower pan with no curb and no material change, there's no lip to trip on and no grout line marking where "shower" begins. We slope the pan subtly toward the drain during the prep stage, before any microcement goes down, so the drainage does its job without needing a visible curb to contain water. The result is a shower that essentially disappears into the rest of the room until the water's running.
Floating Vanities Read Lighter Over a Continuous Floor
A wall-mounted, floating vanity already opens up visual space by exposing the floor underneath it. Pair that with a microcement floor that runs unbroken beneath the vanity instead of stopping at a cabinet base, and the effect compounds — you can see the full floor plane of the room, uninterrupted, which makes even a modest bathroom footprint feel more open. It also just makes cleaning easier, since there's no cabinet toe-kick collecting dust and grime in a spot that's hard to reach.
Integrated Niches Instead of Applied Shelving
A recessed niche built into the shower wall and finished in the same microcement as the rest of the surface disappears into the wall rather than reading as an add-on shelf. No metal caddy, no separate tile border around the opening — it's just a shaped recess in the same continuous surface, which keeps the shower feeling like a single sculpted space rather than a wall with hardware bolted onto it. We build these into the substrate during the prep stage, so they need to be planned before the microcement goes down, not added after the fact.
Warm, Muted Tones Do More Than Stark White
A lot of bathroom remodels default to bright white because it reads as clean, but a warm sand, greige, or soft taupe tone tends to produce the calmer, spa-adjacent feeling people are actually after. Microcement takes pigment well and holds a consistent tone across a large continuous surface, which is harder to pull off with natural stone or patterned tile where every piece varies slightly. A warm mid-tone also does a better job hiding water spots and soap residue between cleanings than a stark white surface will, which matters in a room that gets used daily.
Radiant Heat Pairs Naturally With a Thin Finish
A fair number of the bathroom remodels we do now include electric radiant floor mats underneath the microcement, and the pairing makes practical sense beyond just comfort. Because microcement goes down at 2 to 3mm thick, it doesn't add meaningful height to the floor the way a mortar bed under tile would, so a thin heating mat fits without raising the finished floor above the doorway threshold or eating into ceiling clearance. It also conducts and holds heat evenly across the whole surface, without the grout lines that can crack over time from repeated thermal expansion in a heated tile floor. On a cold tile floor, that first barefoot step in the morning is part of why bathrooms feel utilitarian instead of restful — a warm, continuous microcement floor removes that friction entirely.
What to Plan For Before You Commit
Microcement goes down directly over your existing tile, concrete, or wood substrate in most cases — no demolition required, which keeps a bathroom remodel timeline realistic. A typical bathroom install runs 3 to 5 days depending on the scope, most of that in prep and cure time between coats rather than active labor. Because it's a wet room, the shower area still needs a proper waterproofing membrane underneath the microcement, the same as any wet-area installation would — the material and sealer work with that layer, not instead of it. Every one of these design choices, from curbless showers to integrated niches to radiant heat, needs to be part of the conversation during the initial consultation, since they affect the substrate prep more than the finish coat. Once it's sealed, day-to-day care is simple — a damp mop and a pH-neutral cleaner, with a fresh sealer coat every 2 to 3 years to keep a high-use bathroom floor performing the way it did on day one.
Planning a bathroom remodel? See how microcement applies to floors, showers, and vanities in real Los Angeles bathrooms.
Explore Bathroom Applications