
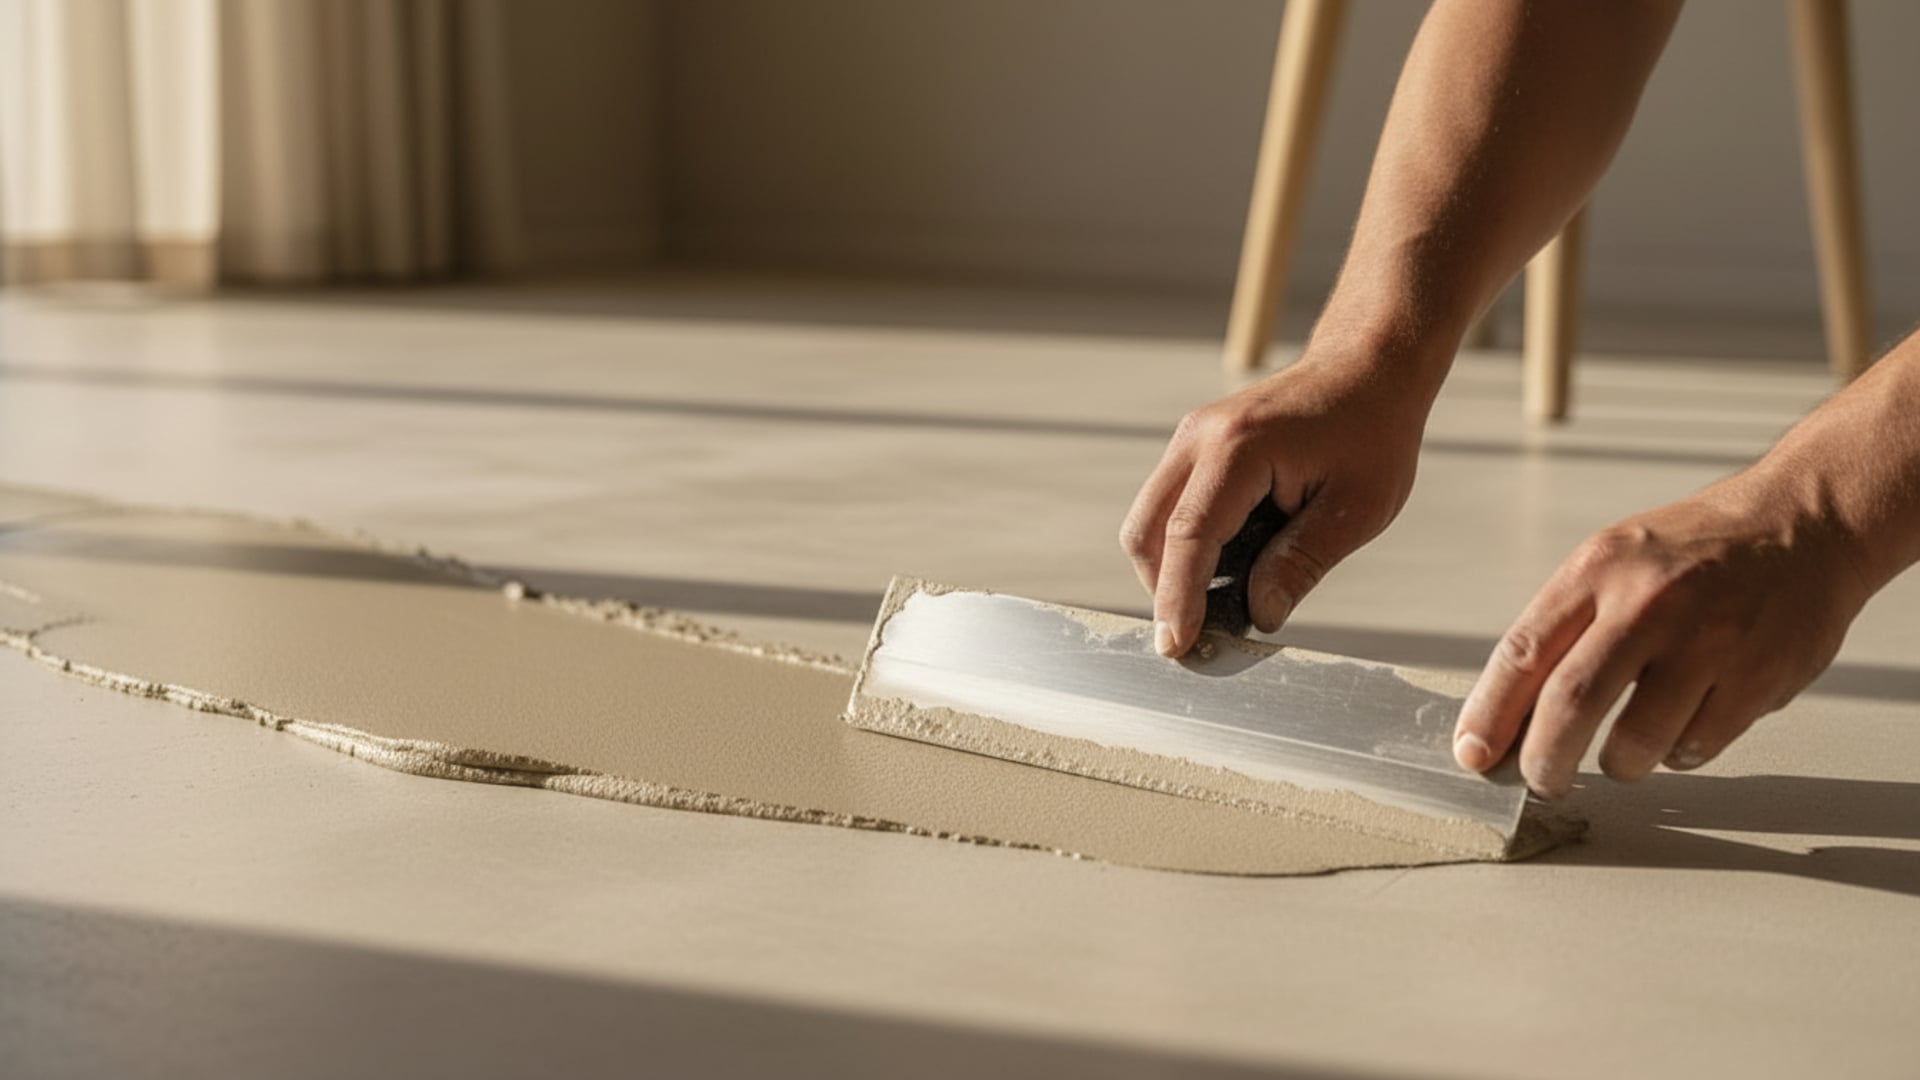
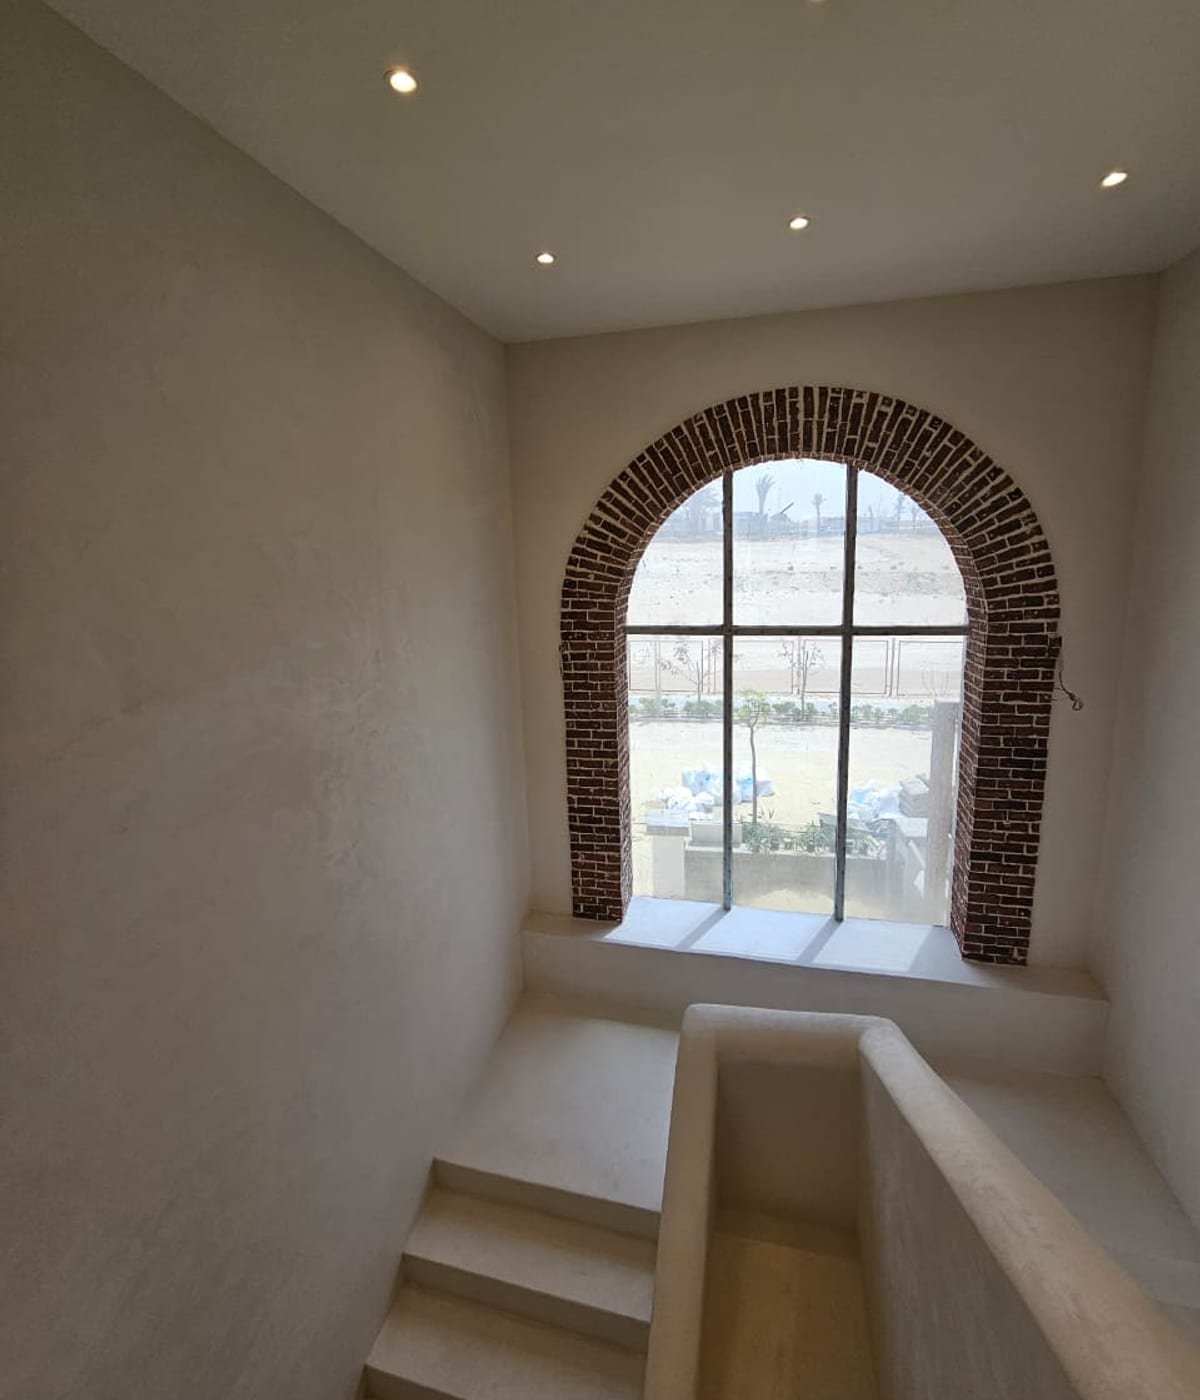
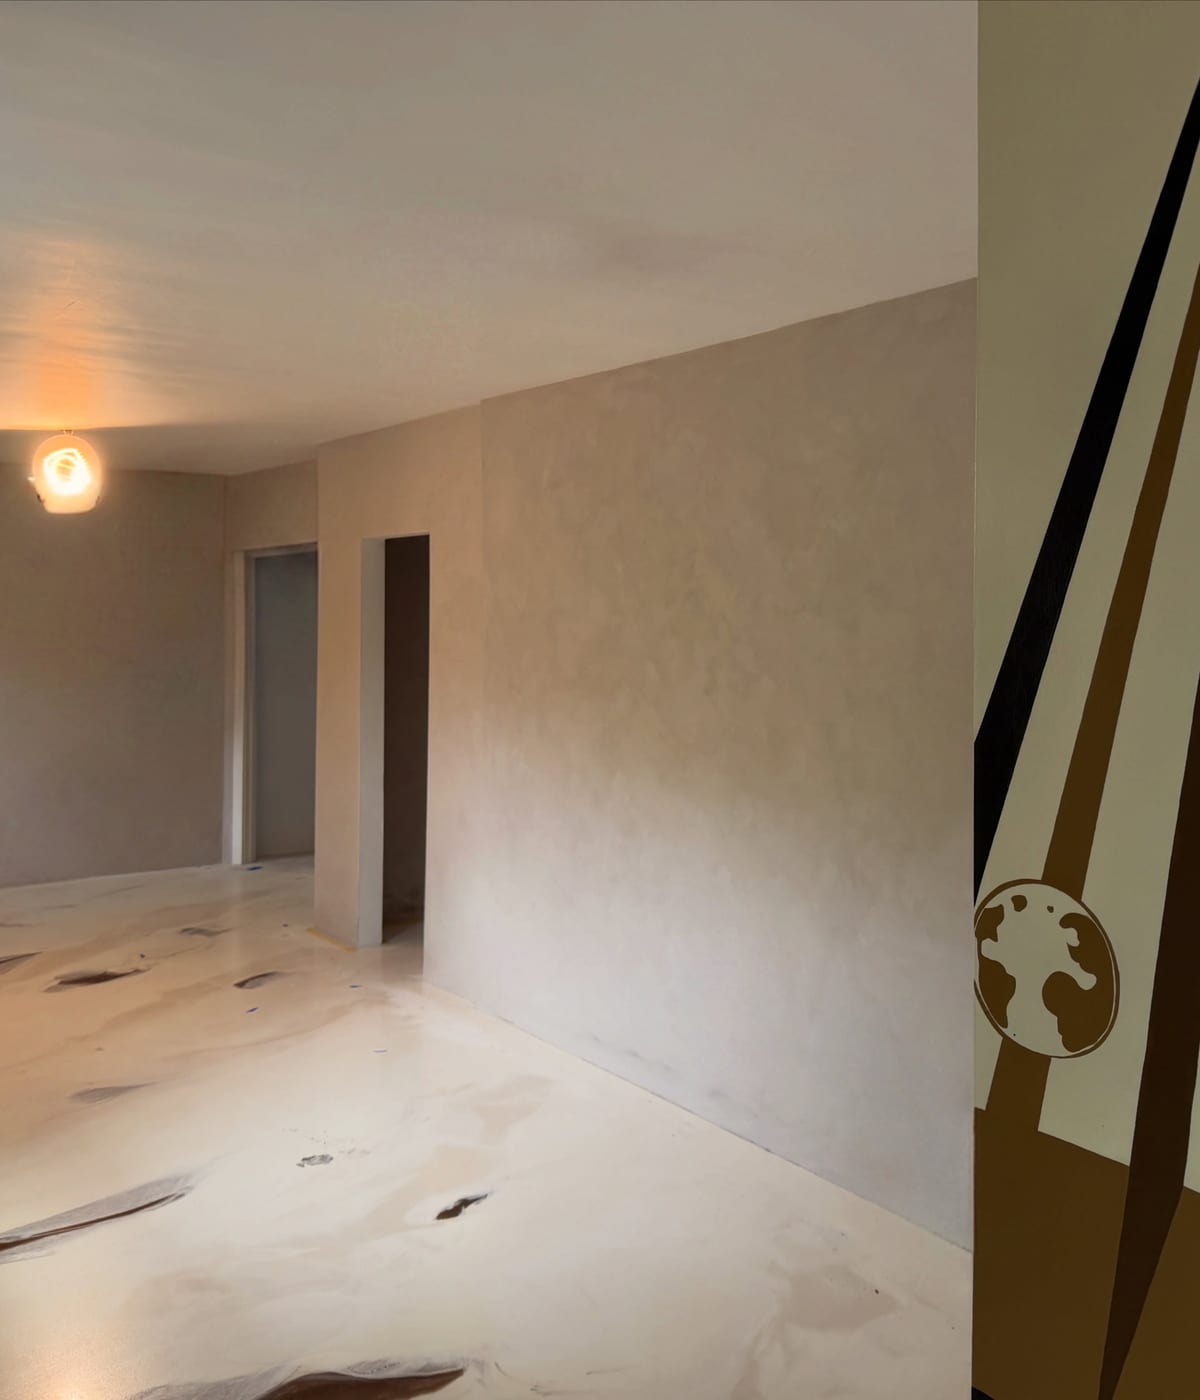
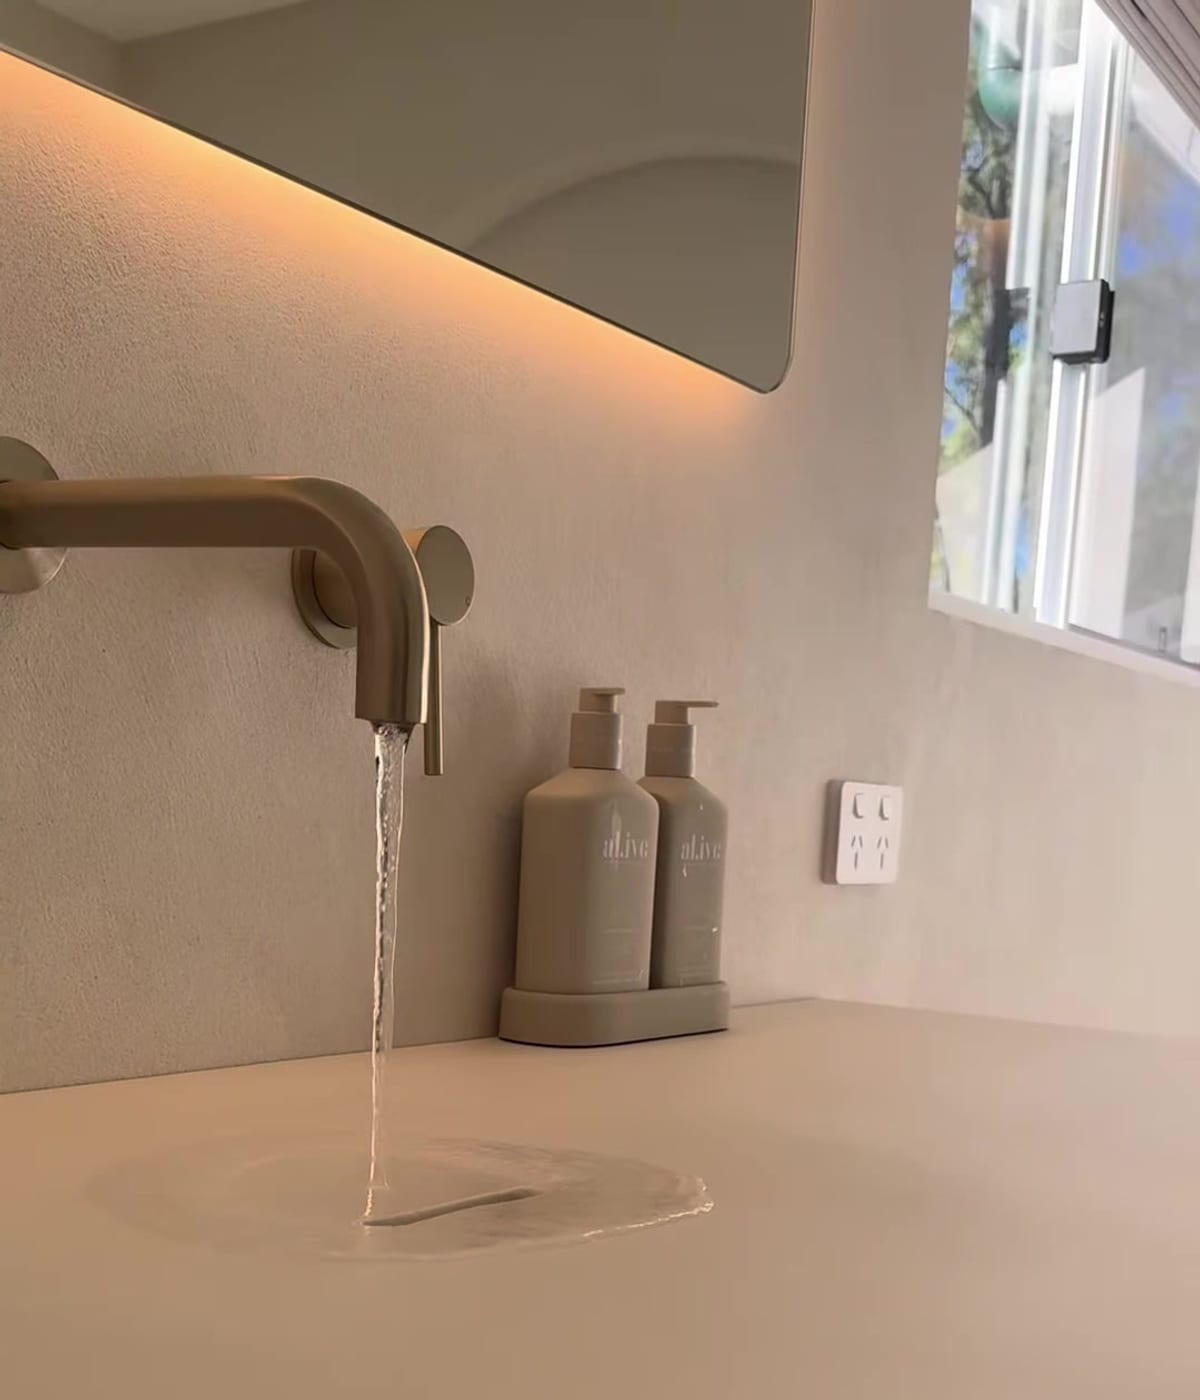
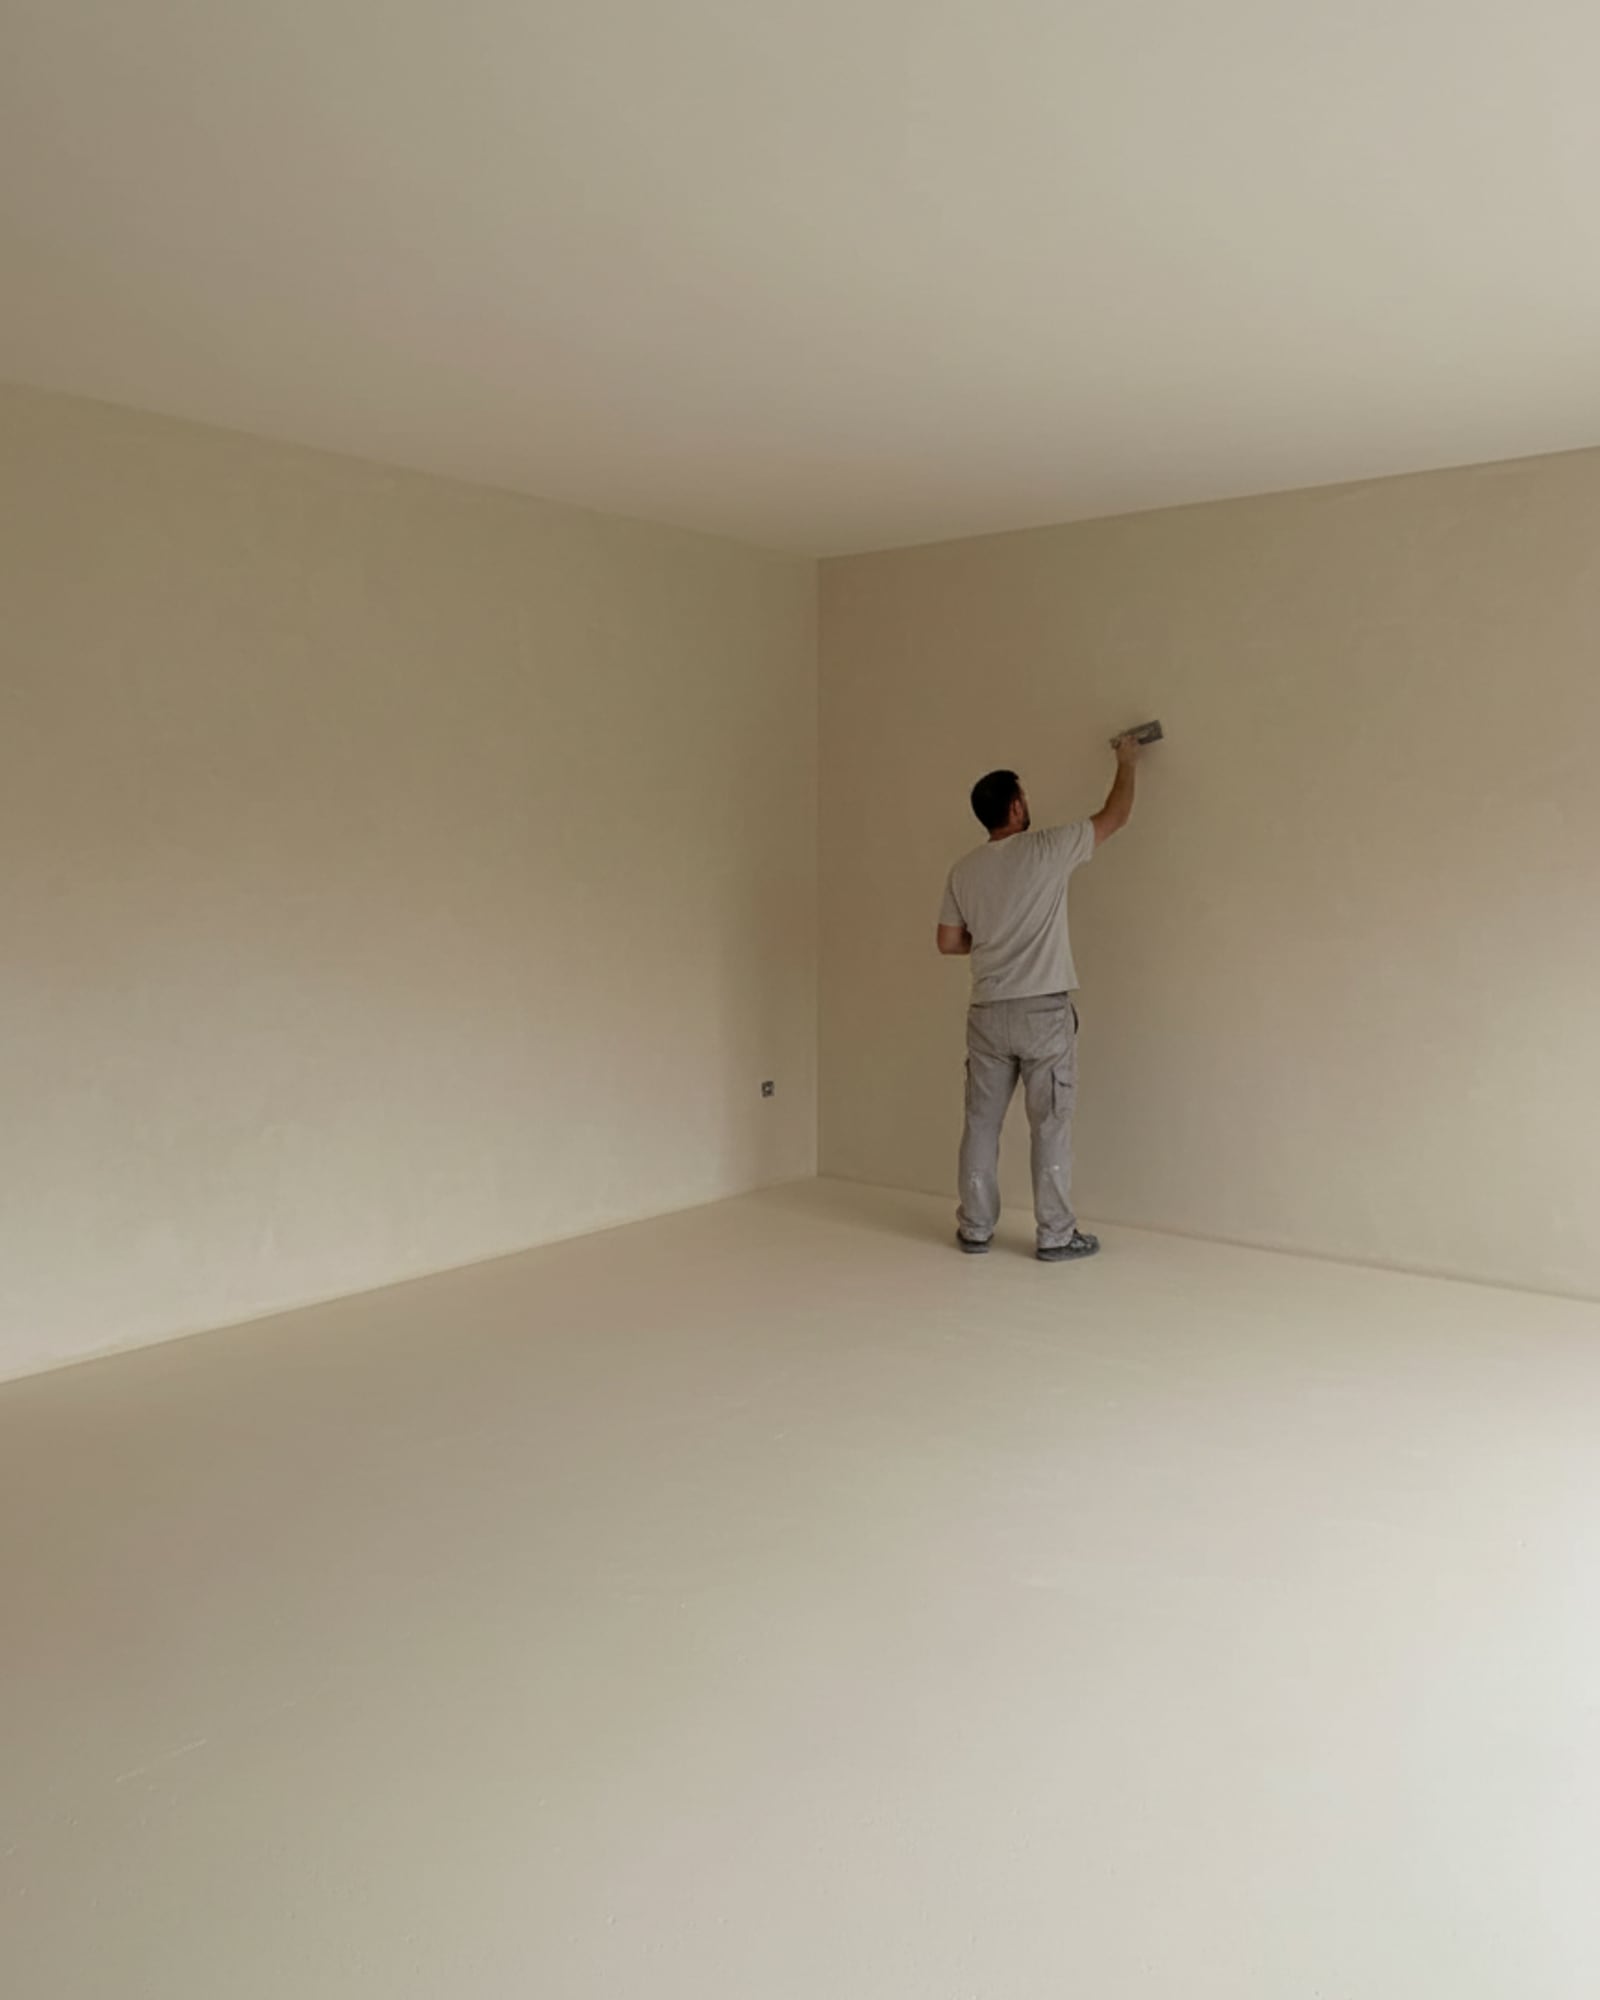
Microcementop installer hand-troweling microcement onto a floor

Our Process

From First Walkthrough to Final Seal

Four stages, no shortcuts. Most bathrooms are finished in under a week; larger rooms take a few days more.

Every microcement job runs through the same four stages, in the same order, whether it's a powder room or a full kitchen. What changes is the timeline and the prep work underneath — not the process itself.

Microcementop consultation and on-site walkthrough — project near Los Angeles in West Hollywood

01 — Consult

We walk the space before we quote it.

A phone estimate can't tell you what's under your tile. We come to the property, check the condition of the existing substrate — tile, concrete, wood subfloor — and flag anything that needs attention before microcement goes down: hairline cracks, uneven transitions, old caulk lines. We talk through color, texture, and where the material will run (just the floor, or up the walls too), and you get a written quote based on what we actually saw, not a guess.

Surface preparation before microcement application — project in Venice, Los Angeles

02 — Prep

The finish is only as good as what's underneath it.

This is where most of the labor actually goes. We clean the surface, grind or key it for adhesion, patch anything that's cracked or uneven, and lay down a bonding primer suited to the substrate. Where the slab needs it, we also install an epoxy moisture vapor barrier broadcast with silica sand as part of prep. On tile, that means degreasing and scuffing every glazed surface so the primer has something to grip. Skip this step, or rush it, and you get delamination down the road — it's the single biggest cause of microcement failures we get called to fix on other people's jobs.

Microcement application in multiple thin coats — project near Los Angeles in Marina del Rey

03 — Apply

Three to five coats, troweled by hand.

Microcement goes on in three to five hand-troweled coats depending on the system — primer and mesh not counted. Where the system calls for it, fiberglass mesh is embedded during application. The base coat builds structure and evens out the surface. The second coat carries the color and texture you chose — this is where the finish actually takes shape, and it's slow, deliberate work with a steel trowel, not a roller. A third coat goes down in high-wear areas or wherever the second coat needs refinement. Each coat needs to cure before the next goes on, which is most of why the calendar matters more than the labor hours.

Sealing microcement for water and stain resistance — project near Los Angeles in Marina del Rey

04 — Seal

The sealer is what makes it waterproof.

Microcement on its own is porous, similar to raw concrete. We apply a protective sealer — typically two coats, sometimes a matte or satin topcoat depending on the room — that closes the surface and makes it fully water- and stain-resistant. This is what lets the same finish work in a shower, under a kitchen sink, or on a pool deck. We let it cure fully before the space goes back into use.

Microcementop crew reviewing a finished installation with a client

05 — Care

What happens after we leave.

Day-to-day, microcement cleans up with a damp mop and a pH-neutral cleaner — nothing abrasive, no bleach. In high-traffic rooms, we recommend a fresh sealer coat every 2 to 3 years to keep the water resistance at full strength; low-traffic rooms can go longer. We'll walk you through the specific maintenance schedule for your finish before we pack up, and we're a call away if anything ever needs a touch-up.

Our Two Systems

Two Ways to Build the Same Seamless Finish

Which one your project needs depends on the substrate underneath. We confirm it at the walkthrough, before we quote.

Standard System

For sound substrates that need protection and build-up without reinforcement.

  1. Prep and profile the existing surface
  2. Primer suited to the substrate
  3. Moisture vapor barrier with silica sand
  4. One base coat, troweled by hand
  5. One to two finish coats
  6. Two to three sealer coats — satin, matte, or gloss

Full High-Build System

For substrates that move, crack, or carry moisture and need reinforcement.

  1. Prep and profile the existing surface
  2. Moisture vapor barrier as necessary
  3. Fiberglass mesh integrated, silica sand per substrate
  4. Two base coats, troweled by hand
  5. Two to three finish coats
  6. Two to three sealer coats — satin, matte, or gloss
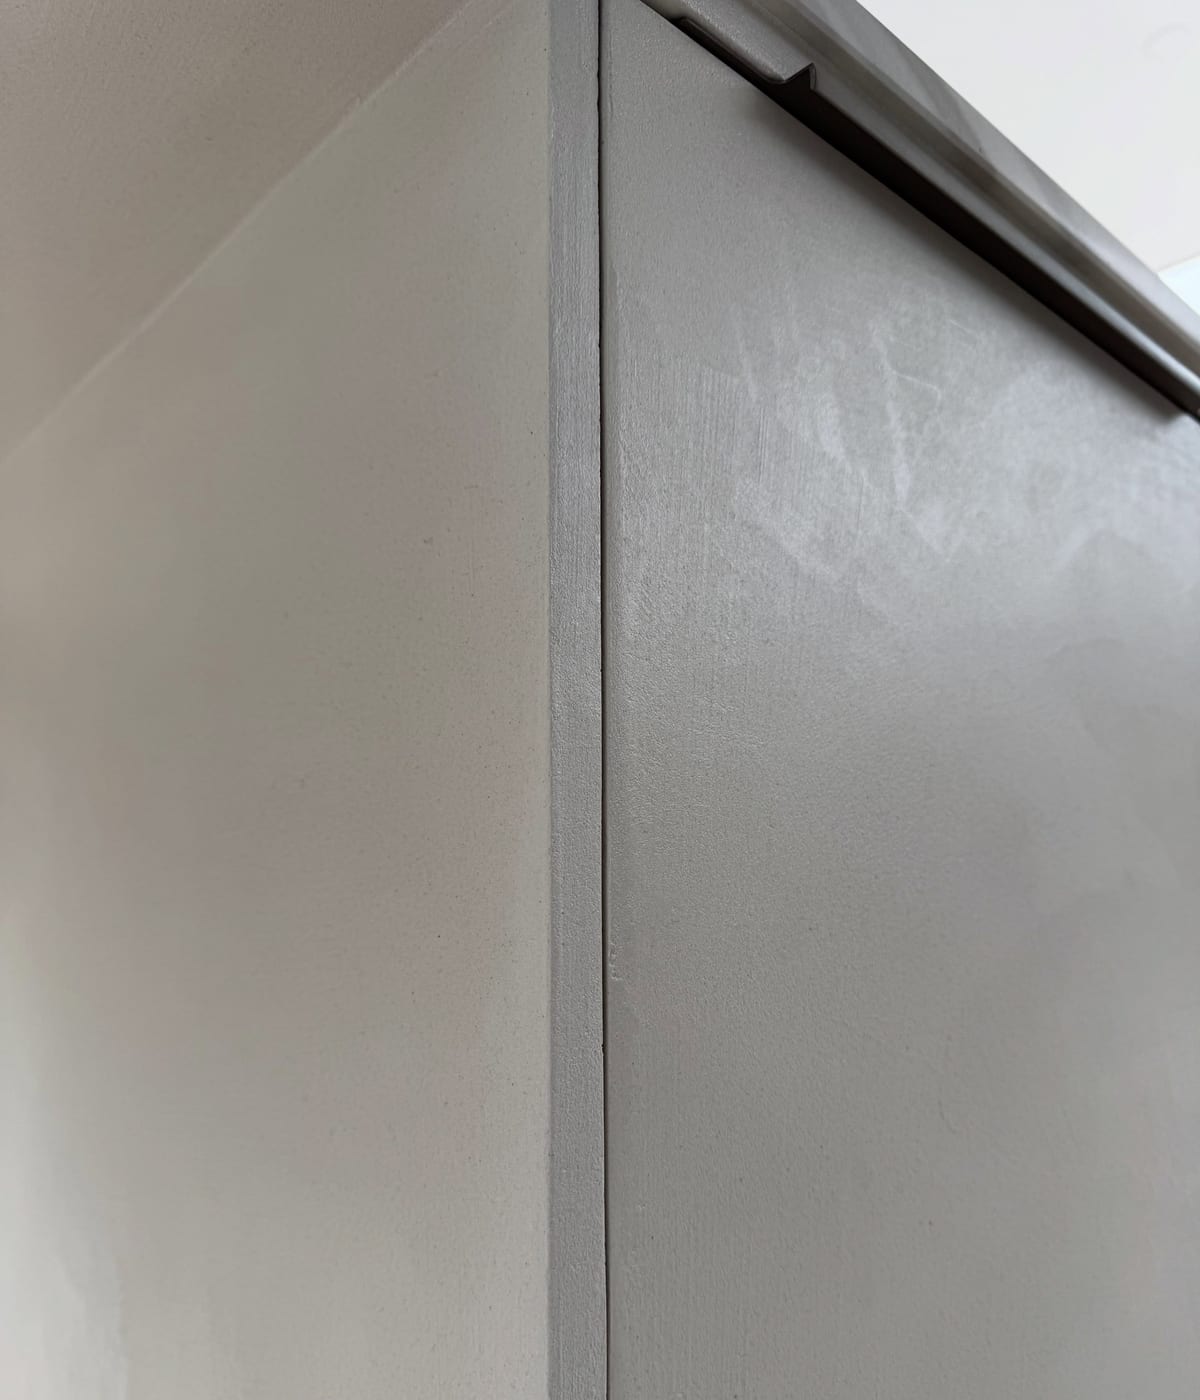
Close-up texture of sand-tone microcement finish — project near Los Angeles in Marina del Rey

Ready to get a walkthrough scheduled?